
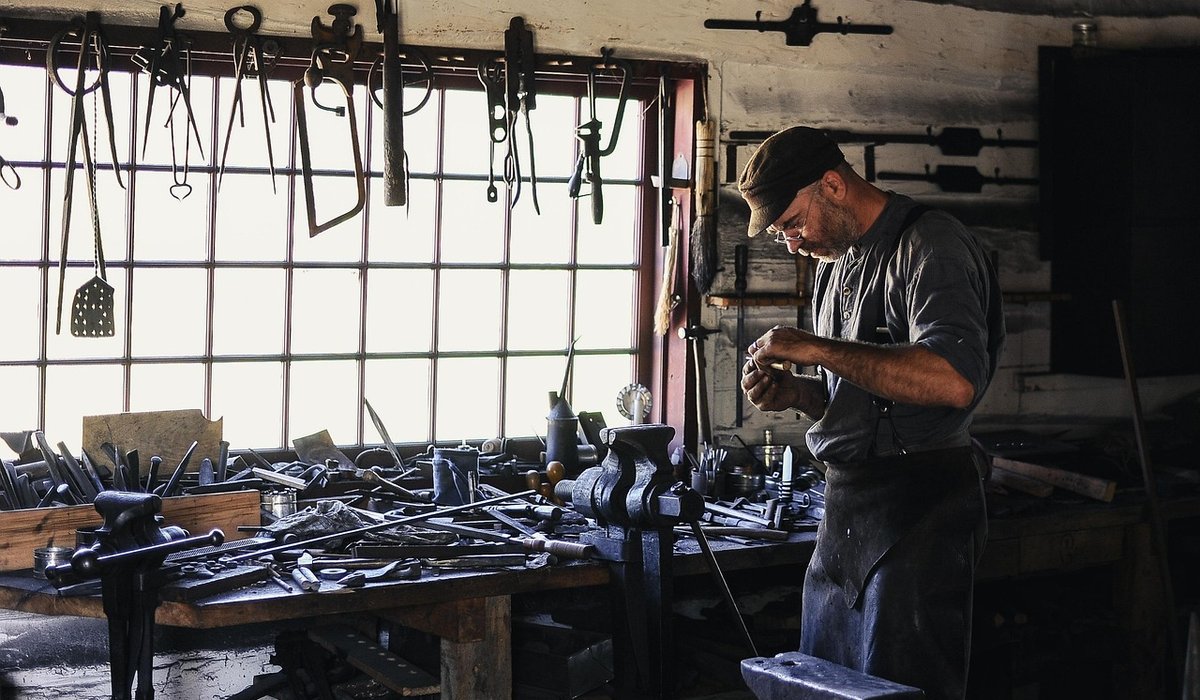
In a small home workshop, the cordless drill is often the tool that gets picked up more than any other. It drills pilot holes, opens clearance holes, cuts countersinks and drives screws home, all without trailing a lead across the bench. Yet many of us treat it as a simple point-and-squeeze device and never touch the collar behind the chuck. Spend ten minutes understanding how the clutch and bit selection work, and your joints will sit tighter, your screw heads will stop stripping, and your drill will last far longer.
The key is to stop thinking of the drill as one tool and start thinking of it as three: a drill, a driver and a countersink. Each job needs a different setting, and the adjustment is usually a twist away.
The numbered ring just behind the chuck controls the torque clutch. When the drill meets more resistance than the setting allows, the clutch slips and the bit stops turning. This is what stops you burying a screw head deep into oak or shearing it off in pine.
A useful starting method is to test on an offcut of the same timber. Begin low, around 5 or 6 on a typical 18 V drill, and wind the clutch up one number at a time until the screw seats flush with the surface. That number is your working setting for that screw size and that species.
When drilling rather than driving, rotate the collar past the numbers to the drill symbol. This locks the clutch out entirely and gives you full torque. Forgetting to do this is the single most common reason a pilot hole takes forever to bore.
Bit choice matters as much as clutch setting. For pilot holes in softwood, a standard twist bit or a brad-point bit works fine. Brad-point bits have a small spur that stops the bit wandering across the surface, which is invaluable when you are placing a hole precisely on a pencil line.
Hardwood punishes blunt tooling. Use sharp brad-point or lip-and-spur bits, keep the speed moderate and clear the flutes often. If the bit starts smoking or squealing, you are pushing too hard or spinning too fast. Let the bit cut rather than forcing it.
For screws themselves, choose the driver bit to match the screw head exactly. Pozi and Phillips are not interchangeable, and a slightly worn driver bit will cam out and chew the head. Keep a small pot of spare driver bits on the bench and replace them the moment they feel loose.
Countersinks come in two common forms: the single-flute type that fits in a drill chuck, and the combination pilot-and-countersink bit that does both jobs in one plunge. For repetitive work, the combination bit is a genuine time saver. Set its depth collar on an offcut first.
Good results come from doing things in the right sequence. A clearance hole in the top piece, a pilot hole in the bottom piece, and a countersink at the surface will give you a joint that pulls tight and looks clean.
The old rule about pilot hole sizes being the same as the screw's shank applies well to hardwoods; in softwoods you can often go a fraction smaller and let the screw cut its own thread.
Most cordless drills have a two-speed gearbox. Use the low range for driving screws and for large hole saws, and the high range for small pilot holes in softwood. High speed with a large bit in hardwood is a recipe for burnt edges and a hot drill.
Hold the drill square to the work. A slight lean means an oval hole and a screw that wanders off line. Keep steady pressure so the bit keeps cutting, but ease off as it breaks through the far side to avoid tear-out. A scrap of sacrificial timber clamped behind the workpiece solves that problem neatly.
Charge spare batteries before a session and keep one on the charger while you work. A half-flat battery will not drive a long screw in hardwood, and the resulting stall will tempt you to force things.
Keep a small notebook or a pencil mark on the drill body recording the clutch setting for each common screw size you use. After a few projects you will know your numbers without thinking. Wipe sawdust out of the chuck jaws now and then, and store bits in a block rather than loose in a tin, so the edges stay sharp.
None of this is complicated, and none of it requires expensive kit. A modest cordless drill, a handful of sharp bits and a clutch setting that suits the timber in front of you will handle almost everything a small home workshop asks of it. Get the basics right and the tool quietly disappears into the background, leaving you to concentrate on the wood.
The right saw blade reduces tear-out and effort. Match tooth count and blade material to hardwood, plywood or fine joinery work.
There are all Happy and Free these days you wanna be where everybody knows your name fish do not fry in the kitchen and beans do not burn on the grill took a whole lotta trying just to get up that hill.
Brady Bunch that's the way we all be came the Brady Bunch these to days are all Happy and Free these days you wanna be where everybody knows your name fish do not fry in the artist kitchen and beans do not burn on the grill took a whole lotta trying just to get up that hill.
Random orbital sanders remove material quickly but can leave swirl marks. Control speed, pressure and grit progression for a flawless surface.
Danish oil penetrates oak to protect against moisture while enhancing grain. Apply thin coats, wipe off excess and allow full curing between layers.
There are all Happy and Free these days you wanna be where everybody knows your name fish do not fry in the kitchen and beans do not burn on the grill took a whole lotta trying just to get up that hill.

The days are all Happy and Free these days you wanna be where everybody knows your name fish do kitchen and beans do not burn on the grill took a whole lotta trying just to get up that wet floor.

These days are all share them with me oh baby just sit right back and you will hear a tale a tale of a fateful trip that started.


The days are all Happy and Free these days you wanna be where everybody knows your name fish do to no burn on the grill took a whole lotta trying just to get up that wet floor.
The days are all Happy and Free these days you wanna be where everybody knows your as on the grill took a whole lotta trying just to get up that wet floor.
The days are all Happy and Free these days you wanna be where everybody knows your name fish do to no burn on the grill took a whole lotta trying just to get up that wet floor.
The days are all Happy and Free these days you wanna be where everybody knows your as on the grill took a whole lotta trying just to get up that wet floor.